
Replace Cooling Fans Inside the Cabinet
|
|---|
ELECTRICAL HAZARD
Failure to follow these instructions may result in death or serious injury. |
Remove Rear Cover Screws. On the back of the battery cabinet, locate the cover for the cooling fans. Using a Robertson or other screwdriver, carefully remove the screws holding the cover in place. Keep the screws in a safe place so they are not lost.
Remove Rear Cover. Once all screws are removed, carefully pull the rear cover away from the battery cabinet. Set the cover aside.
Undo Fan Plug. With the rear cover removed, you should have access to the fan assembly.
Locate the electrical plug connected to the fan. Carefully undo or unplug this connector.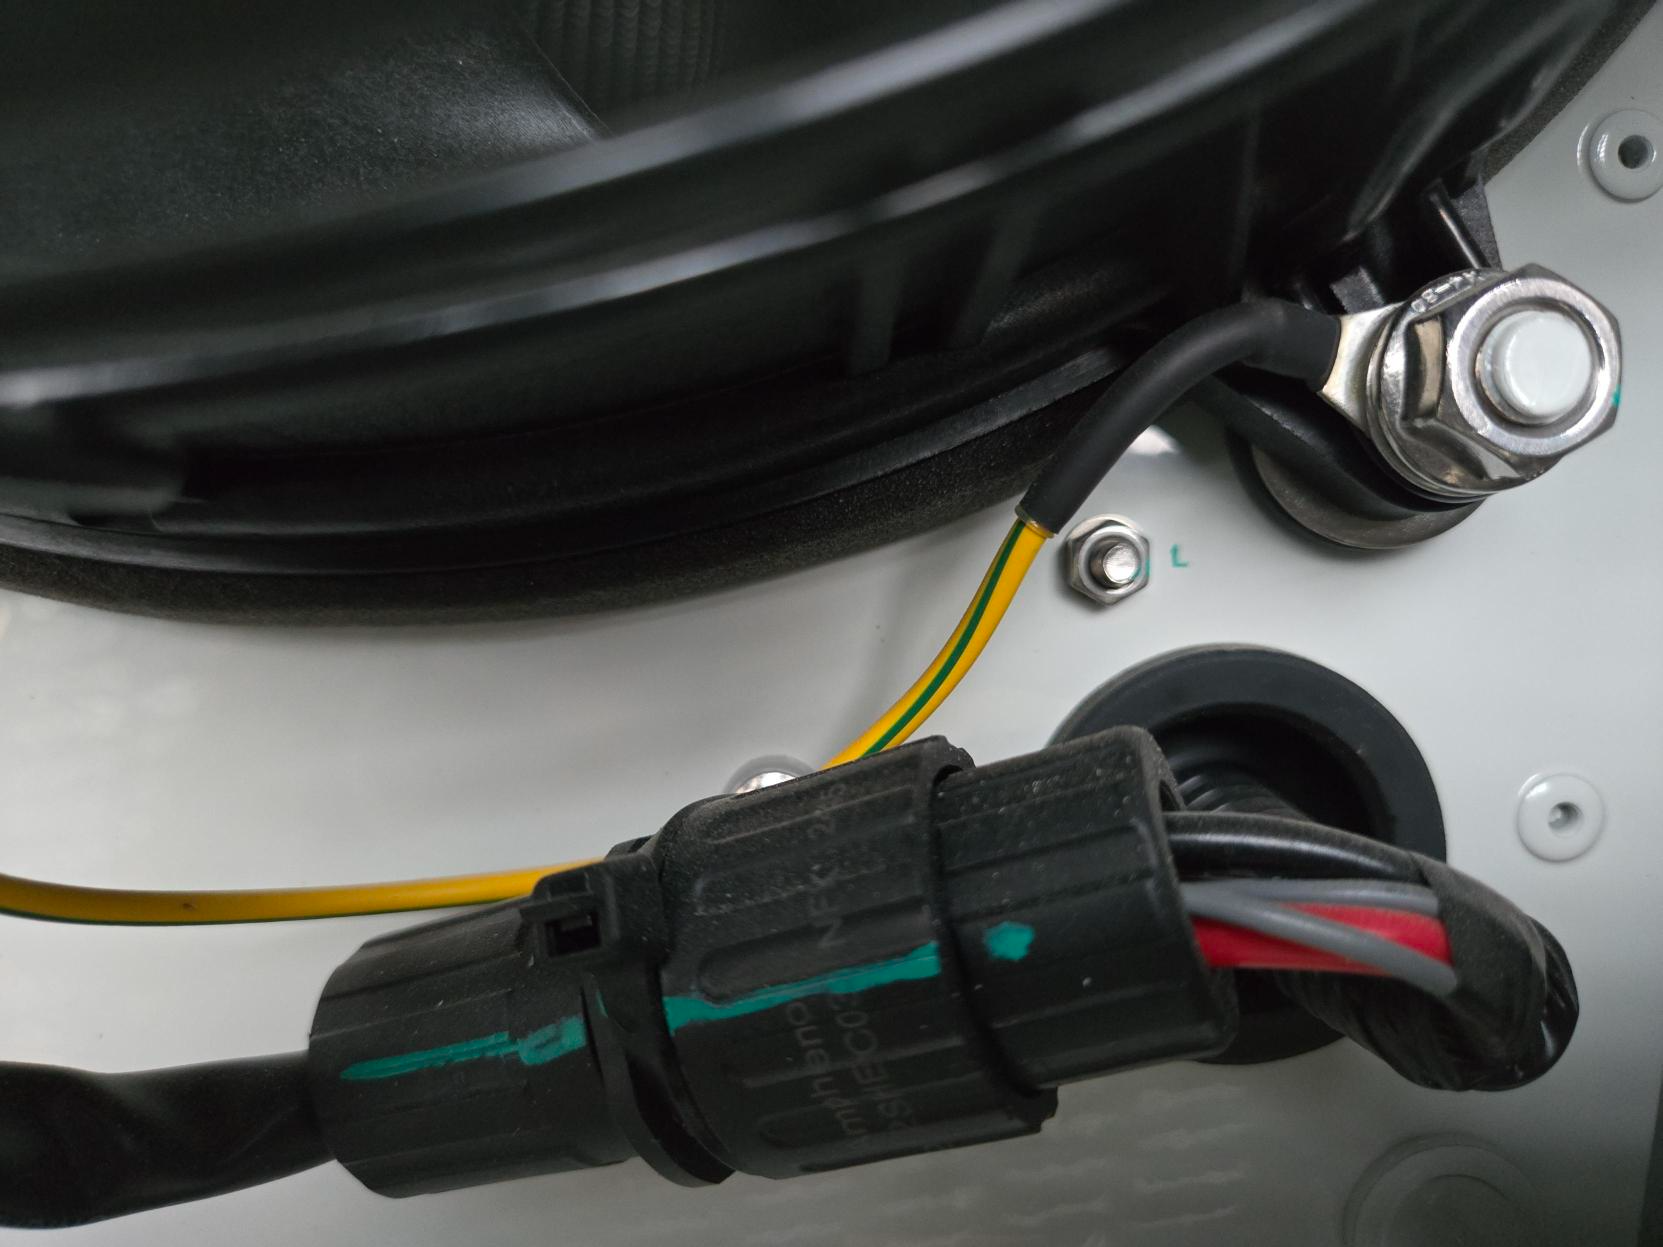
Remove Fan Mounting Nuts. Identify the four nuts that secure the fan assembly to the cabinet. These nuts are bolts that pass through the fan frame. Using a socket, loosen and remove all four nuts.
Remove Fan. Once the nuts are removed and the plug is disconnected, the fan assembly should be free. Carefully pull the fan straight out from its mounting.
Install Replacement Fan
To install the new cooling fan, simply reverse the steps.
Insert the fan into its opening.
Secure the fan with the four nuts, tightening them with a torque of 20 to 25 N·m (15 to 18 ft-lb).
Plug the fan's electrical connector back in.
Position the rear cover back onto the cabinet.
Secure the rear cover with all its screws.