
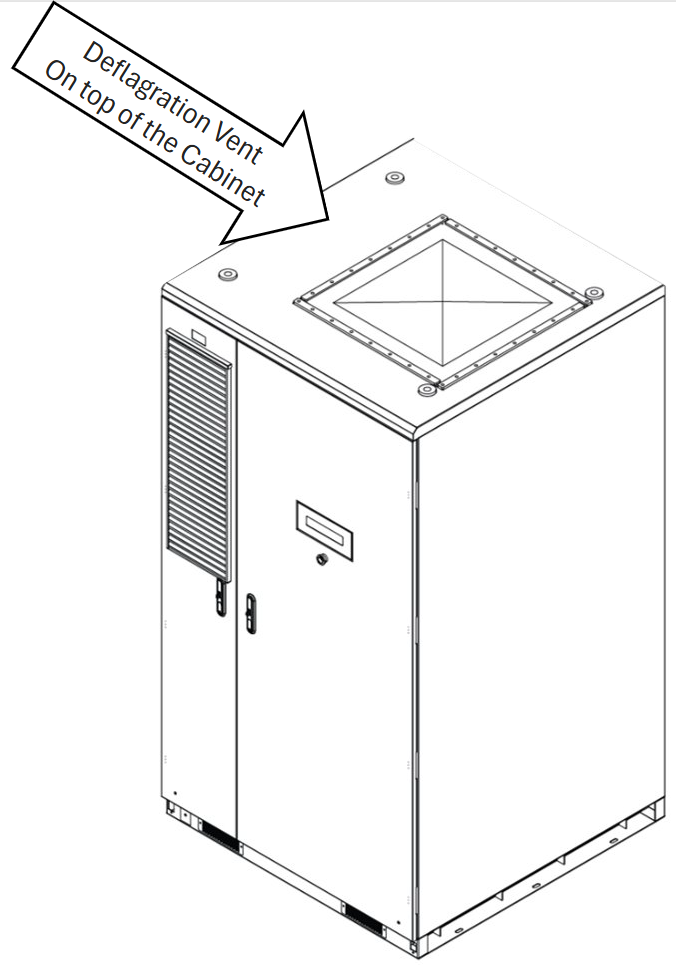
Replacing the Deflagration Vent Plate
A deflagration vent is a safety device designed to protect equipment and buildings from the destructive pressure of a deflagration (a type of explosion) by providing a controlled pathway for the release of expanding gases, flames, and unburned material. It's a crucial component of explosion protection systems, particularly in industries handling combustible dust.
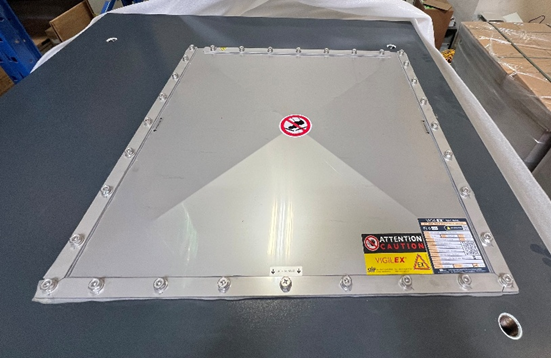
Before installation, ensure the waterproof gasket on the new venting plate is intact and undamaged.
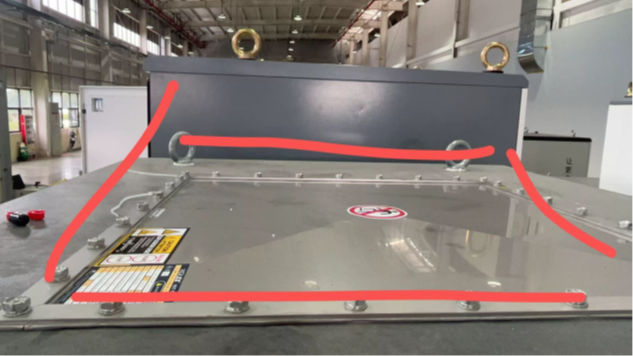
On the AES Cabinet, remove the damaged venting plate.
Remove the screws (set aside as these will be reused) – 32 x 5/8”/ 16 mm Hex Head with a lock washer and a flat washer.
Remove the damaged vent plate ensuring not to damage the hold-down bars or gasket material – note the position of the parts for reassembly (set aside the bars and gasket as these will be reused)
c. Clean and remove any sealant, dirt, or debris from the opening of the deflagration vent.
Install the new vent plate with the label facing the front doors.
Re-install the gasket and hold-down bars.
Re-install reusing the screws with lock washer and flat washer, and hand-tighten. Pre-tighten with a wrench in a cross pattern, for an even seal.
Use a torque wrench to finish tightening the screws to 20 N·m (14.75 ft-lbs).