
Proper wire trench design, inlet positioning, and sealing are critical to installing a secure and reliable battery cabinet
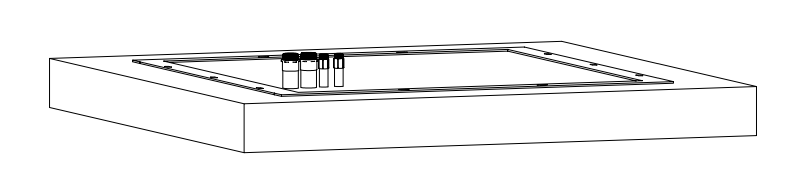
Foundation Inlets
Power and Communication Line Inlets
-
DC Power Inlet/Outlet: The cabinet includes two inlet openings, each with a 50 mm (1.95”) diameter, designed to accommodate 1 ½ inch (trade size) conduit couplings for DC power cables.
-
Communication Line Inlet/Outlet: The cabinet features a 30 mm (1.125”) diameter opening for ¾ inch (trade size) conduit couplings used for communication cables. It is recommended to install two shielded CAT6 cables (one for closed-loop communication with the inverter and one for an internet connection to the LYNK II Gateway).
-
AC Line Inlet/Outlet: The cabinet includes a 30 mm (1.125”) diameter opening designed for ¾ inch (trade size) conduit couplings to accommodate AC power cables for the Auxiliary AC input.
Size the trenches appropriately to accommodate all power and communication lines while maintaining separation to prevent interference.
Access the Connections Compartment
-
Ensure the workspace is safe and clear.
-
Open the left battery cabinet door to access the internal connections area.
-
Ensure the battery is off, the DC disconnect is off, and all MSD are removed before removing any connections or panels.
|
NOTE |
|---|
|
The conduit connection plate, which secures the conduit, can be removed during installation to provide easier access for attaching and securing the conduit during installation. |
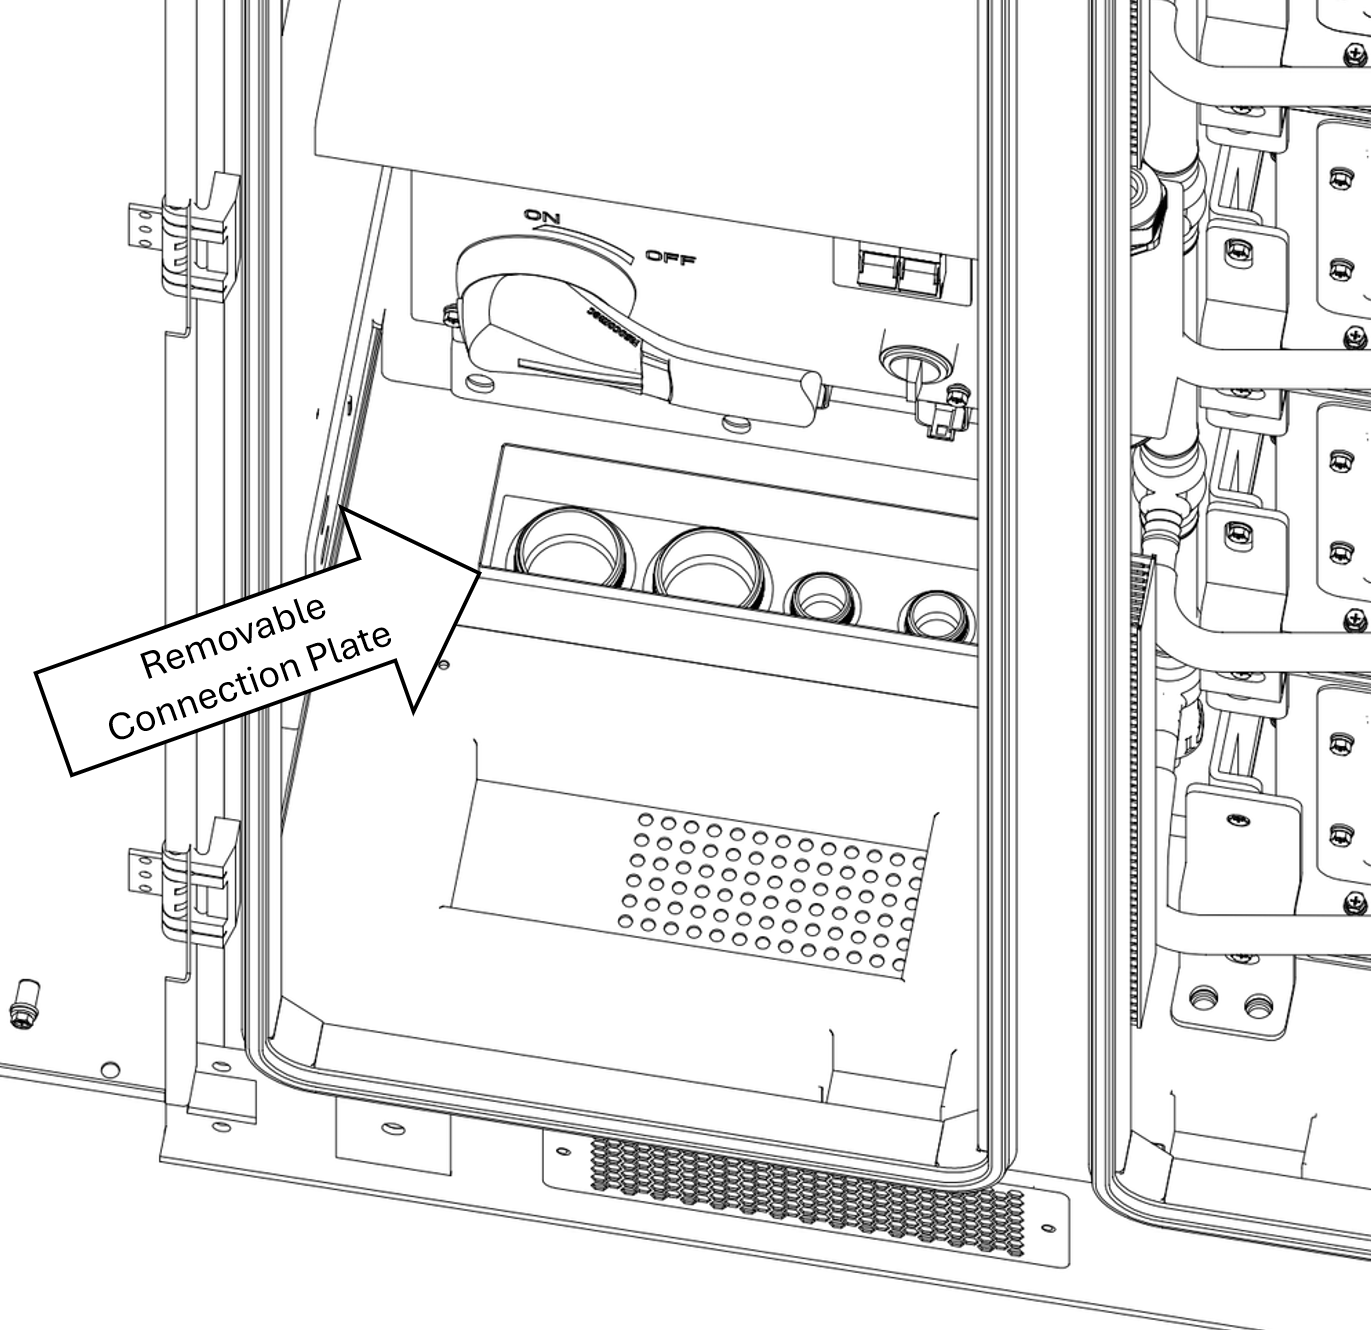
Conduit Connection Plate
-
Conduit Routing
Design conduit pathways to extend vertically from the trench through the concrete pad and into the bottom of the battery cabinet. Ensure a direct, strain-free alignment with entry points, avoiding sharp bends or unnecessary cable stress. Secure conduits properly to maintain stability and ease of installation.